You’ve got your treated wood and you’re itching to start painting, aren’t you? But hold on, there’s a waiting period before you can do so. Sounds frustrating? It needn’t be!
In this guide, we’ll discuss why you need to wait, how to tell when your wood’s ready, and the right way to paint it. Let’s help you avoid common mistakes and achieve a stunning, long-lasting finish on your treated wood.
Key Takeaways
- Treated wood has a longer lifespan and is chemically enhanced to resist rot, decay, and damaging insects.
- Waiting for the wood to dry properly before painting is important for paint adhesion and the finished look.
- Signs that treated wood is ready for painting include it no longer feeling cool or damp to the touch and reaching Stage 4 of dryness.
- Proper preparation, including cleaning, sanding, using a wood primer, and selecting the right paint type, is crucial for a long-lasting and professional finish.
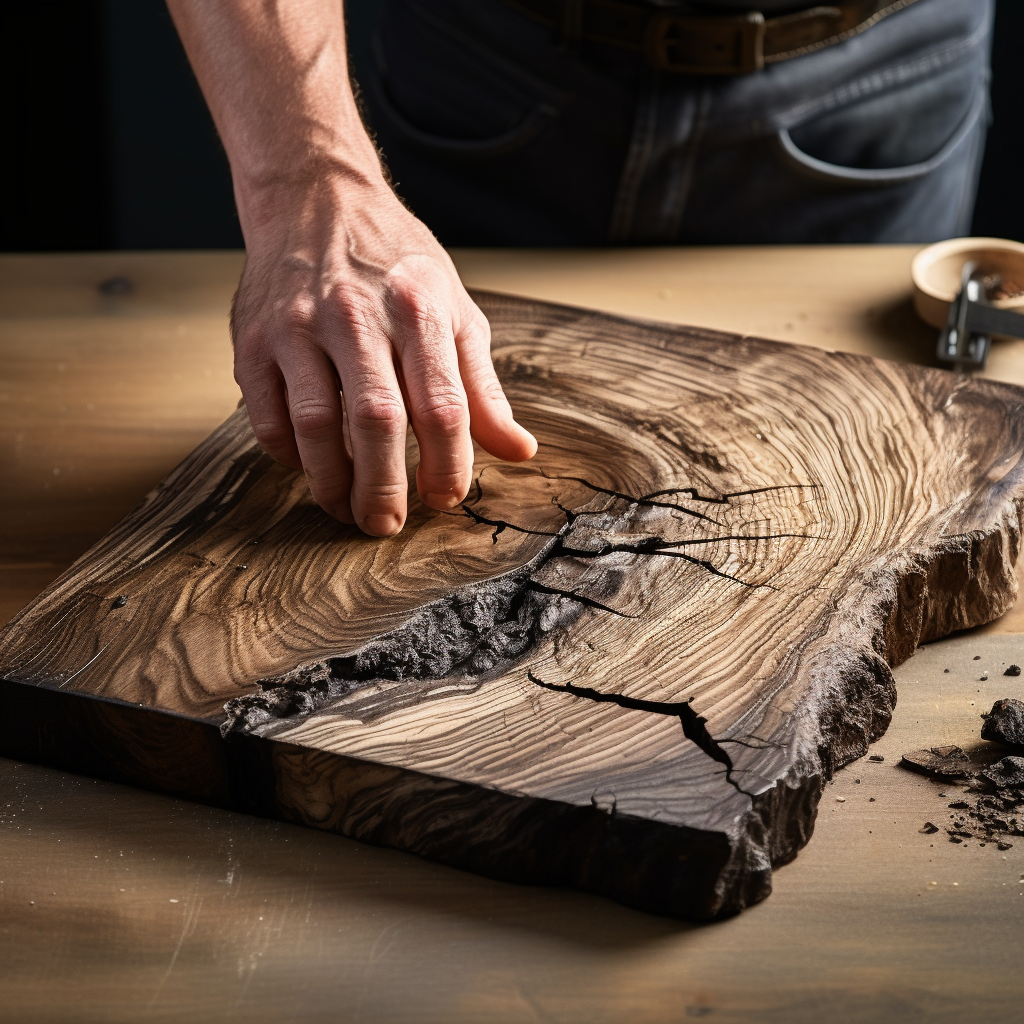
Understanding Treated Wood and Its Properties
Treated wood’s lifespan is one of its major advantages. It’s been chemically enhanced to resist rot, decay, and damaging insects, significantly extending its lifespan compared to untreated lumber. You’ll find it’s a durable choice for projects exposed to harsh weather or moisture.
Now, concerning the eco-friendliness of treated wood, you might’ve some concerns. While the chemical treatment process does have environmental considerations, many manufacturers are using less toxic, more sustainable methods. Plus, the longer lifespan of treated wood means less frequent replacement and therefore, reduced resource consumption. So, you’re not only making a durable choice, but a greener one too.
Importance of Waiting Before Painting Treated Wood
It’s crucial to wait before painting treated wood, as the drying time can impact the paint’s adhesion and, in turn, the finished look.
Weather impact is significant, as humidity and temperature variations affect drying times. Dry, warm conditions expedite the process, while damp, cool ones prolong it.
The paint type you choose also plays a role. Oil-based paints, known for their durability, may take longer to dry than water-based ones. However, they often provide a smoother finish and superior protection against the elements.
Don’t rush this process. Patience ensures a professional, long-lasting finish.
Signs Your Treated Wood Is Ready for Painting
Once you’ve determined that the treated wood has sufficiently dried, you’ll know it’s ready for painting when it no longer feels cool or damp to the touch. This is a fundamental step in moisture assessment. If you rush the painting process without checking the wood’s dryness, it’ll compromise paint adhesion, leading to peeling or bubbling paint later on.
Below is a table to guide you:
| Stages | Moisture Assessment | Paint Adhesion |
|---|---|---|
| Stage 1 | Feels cool & damp | Not ready |
| Stage 2 | Feels slightly cool | Not ready |
| Stage 3 | Feels room temp | Almost ready |
| Stage 4 | Feels dry | Ready |
| Stage 5 | Completely dry | Ideal |
Step-by-Step Guide to Painting Treated Wood
Let’s dive right into the step-by-step guide to painting your treated wood, ensuring a high-quality finish. The key to success lies in your Wood Priming Techniques and Selecting Paint Types.
Here’s a basic rundown:
- Prepare the Wood Surface
- Clean the wood
- Sand the surface to get rid of any rough spots
Apply Primer
- Use a specialized wood primer
- Allow the primer to dry according to the manufacturer’s instructions
Paint the Wood
- Select your paint type carefully. Oil-based paints are more durable, but water-based options are easier to clean up.
- Apply the paint in thin, even coats.
Your attention to detail will result in a fantastic finish that’ll stand the test of time. Happy painting!
Mistakes to Avoid When Painting Treated Wood
Understanding common mistakes when painting treated wood, avoiding hasty decisions and ensuring a professional finish can make or break your project.
One of the major preparation missteps is not waiting long enough before painting.
Treated wood needs time to dry out and for the treatment chemicals to settle. Another common error is not using a primer before painting.
Paint selection is crucial too. Not all paints are suitable for treated wood. You’ve got to choose one that can withstand outdoor conditions if it’s for exterior use.
Here’s a quick reference table for you:
| Common Mistakes | Solutions |
|---|---|
| Rushing to paint | Wait for the wood to dry |
| Skipping primer | Always use a primer |
| Wrong paint type | Choose paint suitable for treated wood |

Leave a Reply