Think building Cornhole Boards is beyond your skill set? Think again.
You don’t need to be a professional carpenter to construct your very own game set.
In fact, with just a handful of common tools and materials, you’re more than capable of making a personalized Cornhole Board that not only impresses your friends, but also adds a personal touch to your backyard parties.
The process is simple, engaging, and broken down into easy-to-follow steps in this guide.
By the end, you might just surprise yourself with what you’re capable of creating.
Key Takeaways
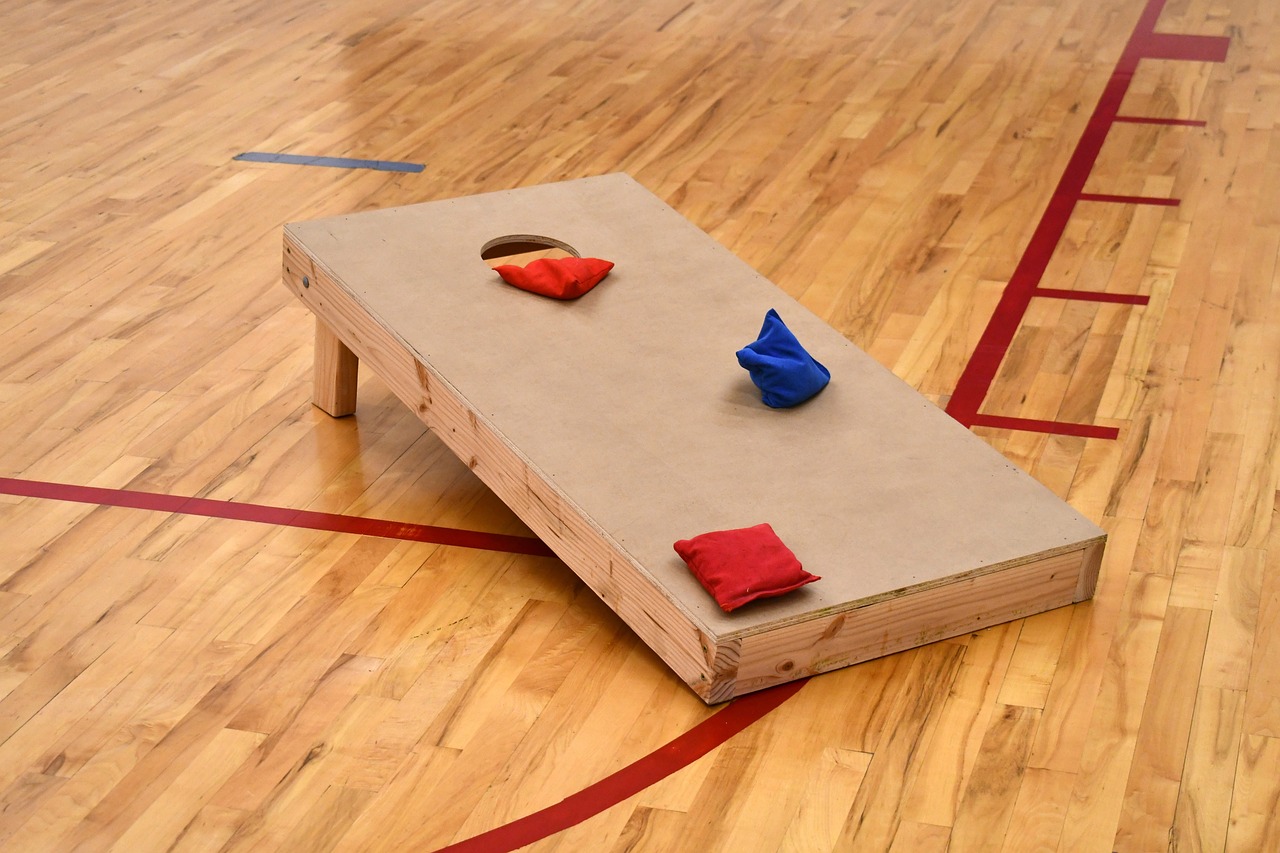
- The platform box is constructed using plywood and 2x4s, fastened together with screws.
- The legs of the cornhole boards are made from 2x4s, cut with a 3-1/2 radius on one end.
- The legs are attached to the platform using carriage bolts, washers, and wing nuts.
- When buying cornhole boards, consider factors such as quality, durability, price, and customer reviews. Compare different brands and models before making a decision.
Gathering the Necessary Materials
Before you start building your own cornhole boards, you’ll need to gather all the essential materials and tools.
The first step is choosing the right plywood thickness. A 1/2 inch thick plywood is ideal for your boards. This thickness strikes a perfect balance between durability and weight, making your boards sturdy yet manageable.
Next, you’ll need to compare different types of screws for the frame. A mix of 3-inch and 1-5/8-inch screws are recommended.
The longer screws will be used for the frame, providing the needed strength, while the shorter ones are perfect for attaching the plywood surface to the frame.
Now let’s talk about sanding. To achieve a smooth finish, you’ll need a good sander and some fine-grit sandpaper.
Start with a coarse grit to remove any major bumps or imperfections, then progressively move to finer grits for a silky finish.
You might consider exploring alternative materials for the frame like PVC or aluminum, but remember, traditional 2x4s provide the best balance of cost, weight, and durability.
Lastly, don’t forget about adding custom designs to the plywood surface. Stencils or decals can be a fun way to personalize your cornhole boards.
Just make sure to seal your artwork with a clear coat to protect it from the elements.
Constructing the Platform Box
Now, let’s get down to building the platform box for your cornhole boards.
Start by fastening your 2x4s into a box with the 21-inch pieces inside the 48-inch pieces, using 3′ screws.
Next, lay your plywood on top of the box and square up the frame. Fasten the plywood onto the frame with 1-5/8′ screws.
Once your platform box is assembled, it’s time to get creative. Add some personality by painting or staining the platform. You could pick a color that matches your backyard decor or go for team logos or colors to show your spirit.
Remember to apply a protective finish to shield your work from the elements.
Don’t forget to add decorative elements. It could be as simple as a border design or as elaborate as a painted mural.
You might even consider adding a scorekeeping system. It could be a chalkboard or a digital scoreboard – it’s entirely up to you.
Cutting and Fitting the Legs
Once your platform box is ready, it’s time to cut and fit the legs for your cornhole boards. Start by cutting your 2x4s to 11-1/2 inches for the legs. Next, create a full 3-1/2 radius cut on one end of each leg. This step is crucial for achieving the perfect leg height and can dramatically influence the gameplay.
After making the cuts, use a sanding technique to ensure smooth leg edges. This not only increases the aesthetic appeal but also prevents any potential injuries during the game.
Now, let’s add some personality to your cornhole boards! You have numerous options when it comes to the types of leg designs. From simple to intricate, the choice is yours. You can also consider adding decorative elements to the legs.
Last, but definitely not least, consider staining or painting the legs. This not only enhances the durability of the boards but also lets you add a personal touch.
Here’s a quick reference table for you:
| Step | Tips | Result |
|---|---|---|
| Cutting | Accurate measurements | Perfect leg height |
| Sanding | Smooth technique | Smooth edges |
| Designing | Be creative | Personalized look |
| Decorating | Add elements | Enhanced aesthetics |
| Painting/Staining | Choose wisely | Durable and personalized |
Follow these steps and you’ll build a set of cornhole boards to be proud of!
Attaching the Legs Properly
Having cut and shaped your legs to perfection, it’s time we get them securely attached to your cornhole boards. Here’s what you need to do:
- Leg height adjustment:
- Position each leg so it fits snugly against the board frame.
- Adjust the leg height by trimming or sanding as needed to ensure the board top is 12 inches high at the back.
- Stability and balance of the legs:
- Check the balance of the board by placing it on a flat surface.
- Adjust the legs as necessary to prevent any wobbling.
- Reinforcing the leg attachments:
- Secure each leg using a carriage bolt, washer, and wing nut.
- Reinforce by adding an extra screw on the side for added strength.
- Different leg design options:
- Consider rounded legs for easier folding or angled cuts for a sleek look.
- Always ensure the design doesn’t interfere with the stability or height.
- Securing the legs for transport/storage:
- Ensure the legs fold up under the board smoothly.
- Secure them with wing nuts for easy transport and storage.
Buying Cornhole Boards
If you’re not up for the task of building your own cornhole boards, purchasing a ready-made set can be a great alternative. Start by comparing different cornhole board designs. Look at the aesthetics, but also consider the functionality.
Remember, the best design for you’ll depend on your personal preferences and how you plan to use your boards.
Next, explore different cornhole board materials. Wood is traditional, but you’ll also find boards made from plastic and other materials. Each material has its pros and cons, so weigh these carefully.
Also, don’t overlook the importance of regulation size for cornhole boards. Whether you’re practicing for a tournament or just playing for fun, using a board of the correct size will give you the most authentic experience.
Once you’ve purchased your boards, don’t forget about maintenance. Regular cleaning and proper storage can extend the lifespan of your boards, ensuring you get the most out of your investment.
And if you’re feeling adventurous, you can always explore DIY options for building cornhole boards. This gives you the freedom to customize your boards exactly to your liking, while also providing a fun and rewarding project.
Conclusion
And there you have it! You’ve just built your very own Cornhole Boards. Remember, the key is patience and precision, and don’t be afraid to get creative with your design.
Whether you’re hosting a backyard party or just enjoying a sunny afternoon, these boards are ready for action.
If buying is more your style, now you know what to look for. So go ahead, grab your bean bags and let the games begin!

Leave a Reply