When you envision a luxurious, glossy finish on your furniture that exudes sophistication and charm, mastering the art of lacquering is essential.
The process involves meticulous attention to detail and a steady hand to achieve flawless results.
From selecting the perfect lacquer to applying it with precision, each step plays a critical role in transforming your furniture into a masterpiece.
Get to know the secrets to achieving a polished lacquer finish, elevating your furniture to unmatched levels of sophistication.
Surface Preparation
Before you begin lacquering your furniture, make sure that the surface is thoroughly cleaned and free of any dust or debris.
To achieve a smooth and flawless finish, sanding is essential. Start by using a medium-grit sandpaper to remove any existing finish or imperfections on the surface.
Always sand in the direction of the wood grain to prevent any scratches.
Once the surface is smooth and even, switch to a fine-grit sandpaper for a final pass to guarantee the perfect base for the lacquer to adhere to.
When it comes to color options for lacquer, the possibilities are vast. From classic neutrals like white, black, or gray to bold and vibrant hues like red, blue, or even metallic finishes, there is a color to suit every style and preference.
Consider the existing decor and aesthetic of the room where the furniture will be placed when choosing a color.
Remember, the color you select will have a significant impact on the overall look and feel of the piece, so choose wisely to achieve the desired effect.
Choosing the Right Lacquer
Choosing the appropriate lacquer for your furniture is crucial to achieving a professional and long-lasting finish. When selecting a lacquer, consider the drying time and color options available.
Lacquers come in various formulations, including fast-drying choices for quick projects and slower-drying ones for more intricate finishes.
Fast-drying lacquers are convenient for projects that require multiple coats in a short timeframe, while slower-drying lacquers are ideal for achieving a smooth, flawless finish without the risk of drying too quickly.
Regarding color options, lacquers offer a wide range of choices to suit your furniture and style preferences.
You can find lacquers in clear finishes to enhance the natural beauty of the wood or colored lacquers to add a pop of color to your furniture.
Whether you prefer a glossy or matte finish, there are lacquers available in various sheens to match your desired look.
Consider the overall aesthetic you want to achieve when selecting the right color option for your furniture project.
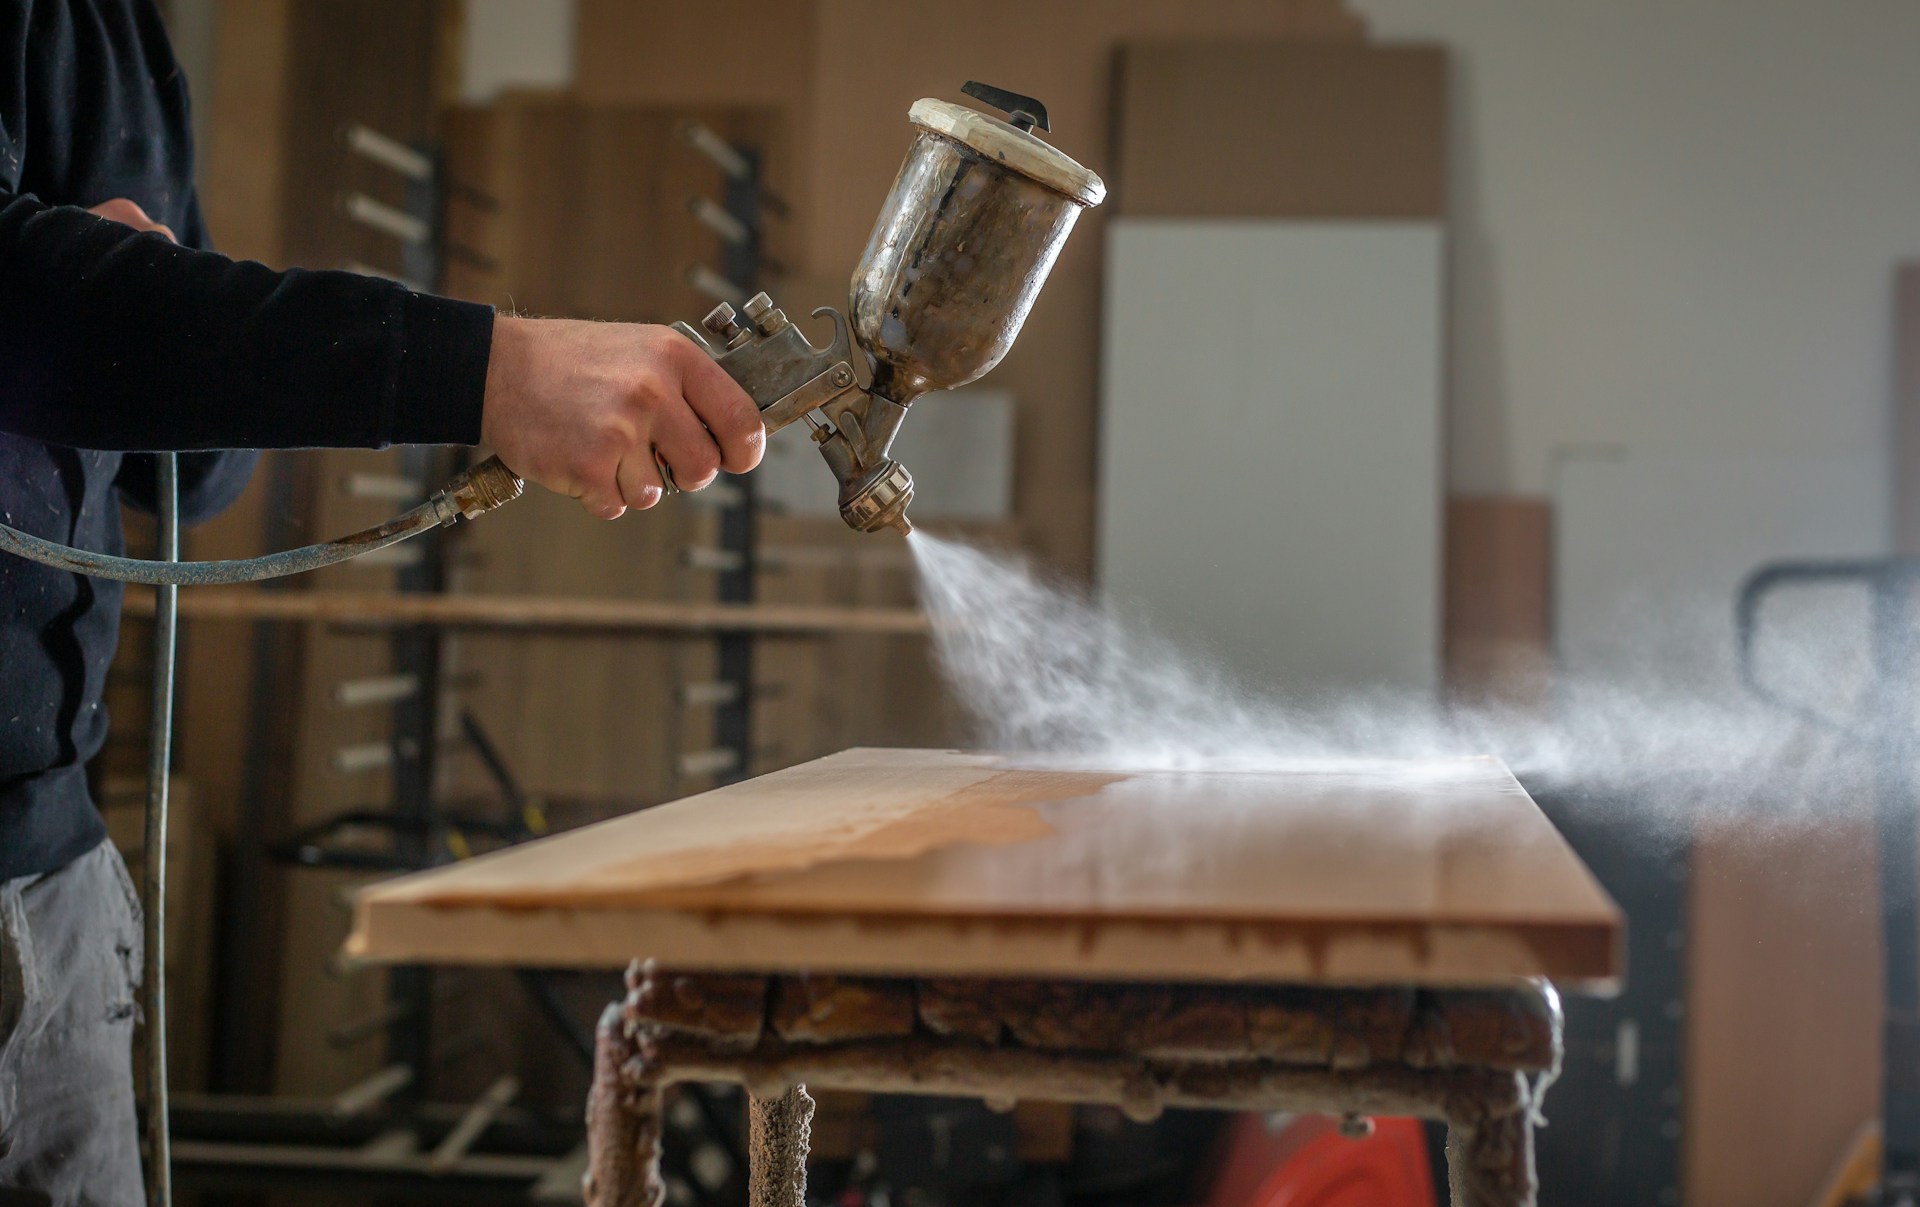
Applying the Lacquer
When choosing the appropriate lacquer for your furniture, the next step is to master the art of applying it effectively to achieve a flawless finish.
To begin, make sure you are in a well-ventilated area and wearing appropriate protective gear.
The spray technique is essential for a smooth and even coat.
Hold the can or sprayer about 8-12 inches away from the furniture surface and move your hand in a steady back-and-forth motion. Avoid stopping in one spot, as this can lead to drips or uneven coverage.
After applying the first coat, allow the lacquer to dry completely according to the manufacturer’s instructions.
This typically ranges from 15 minutes to an hour, depending on the type of lacquer used. Once the first coat is dry, lightly sand the surface with fine-grit sandpaper to smooth out any imperfections.
Repeat the spraying and drying process for additional coats, usually 2-3 coats are sufficient to achieve a durable finish.
Remember to allow each coat to dry thoroughly before applying the next one.
Mastering the spray technique and being patient with drying time will result in a beautifully lacquered piece of furniture.
Sanding and Buffing
To achieve a smooth and flawless finish when lacquering furniture, the next step involves carefully sanding and buffing the surface.
Sanding is essential to guarantee a uniform texture and remove any imperfections.
Begin with a low-grit sandpaper to eliminate any rough spots or old finish.
Gradually progress to higher grits, such as 220 or 320, to smoothen the surface further.
Remember to sand in the direction of the wood grain to prevent any scratches.
Once the surface is smooth, buffing comes into play to enhance the shine and create that glossy finish that is synonymous with lacquered furniture.
Buffing is an important step in achieving a professional-looking result.
By using a buffing compound and a soft cloth, gently buff the surface in circular motions. This process not only adds luster but also helps in blending the lacquer seamlessly.
For wood restoration, buffing aids in revitalizing the natural beauty of the material. These meticulous sanding and buffing techniques are essential for ensuring a stunning glossy finish on your lacquered furniture.
Final Touches and Maintenance
For the final touches and ongoing maintenance of your lacquered furniture, ensuring a consistent shine and protection is key.
When it comes to color selection, consider the existing decor and ambiance of the room where the furniture will be placed.
Opt for a color that complements the surroundings while adding a touch of elegance and style.
To maintain the beauty of your lacquered furniture, follow these care tips: Regularly dust the surface with a soft cloth to prevent dirt and grime buildup.
Avoid using abrasive cleaners that can damage the finish, opting instead for a mild soap and water solution for cleaning. In case of spills, promptly wipe them off to prevent stains.
For a lasting shine, apply a thin coat of furniture polish or wax every few months. This will help protect the lacquer from wear and tear while enhancing its luster.
Additionally, consider placing coasters or mats under items that could scratch the surface to prevent damage. With these maintenance practices, your lacquered furniture will continue to impress for years to come.

Leave a Reply