Crafting a wooden bowl may seem like a monumental task, but fear not, as with the right guidance, it can become an attainable goal.
Imagine the satisfaction of creating a functional piece of art with your own hands.
From selecting the ideal wood to honing your carving techniques, each step in the process will lead you closer to the final reveal.
Learn how to turn a block of wood into a beautifully crafted bowl, showcasing your woodworking skills.
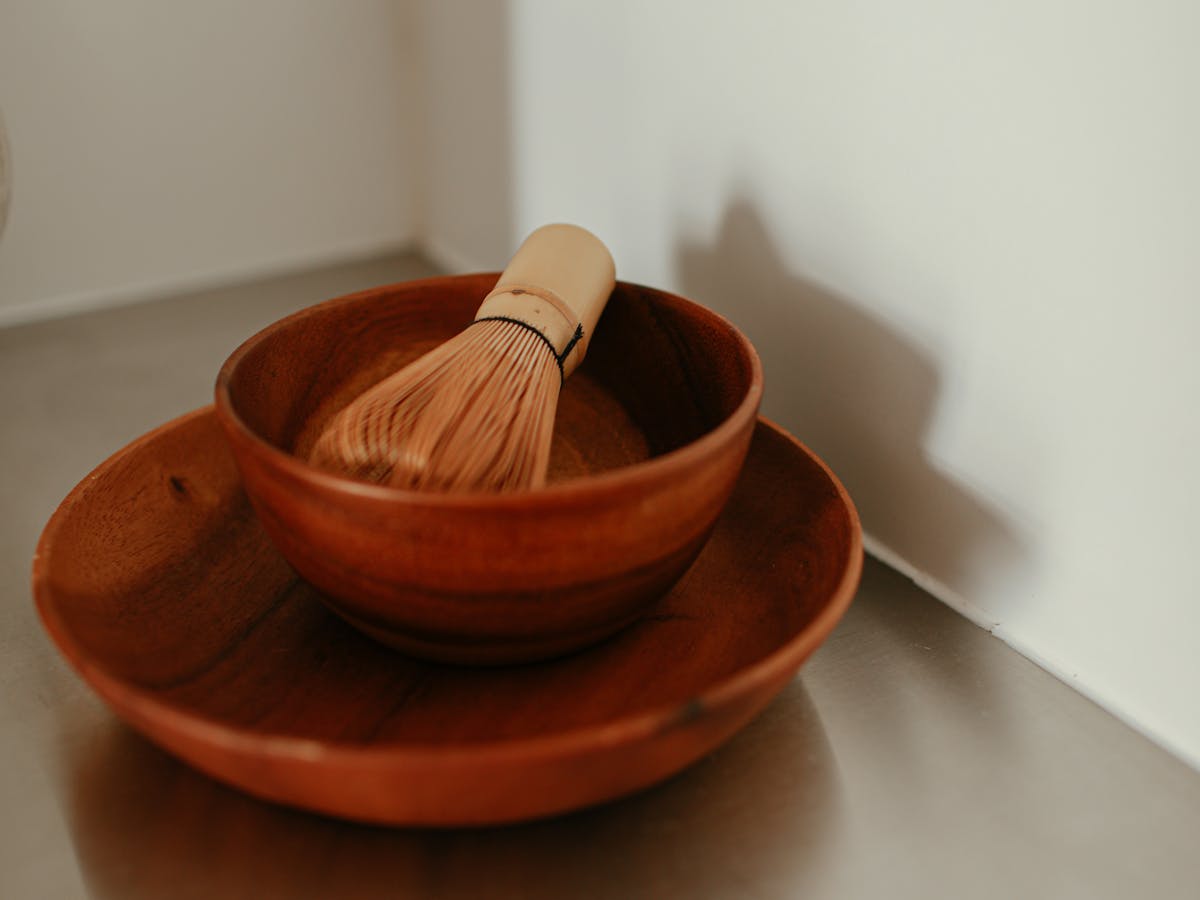
Selecting the Right Wood for Carving
When selecting the right wood for carving a wooden bowl, consider the type of wood that best complements your carving skills and desired outcome.
Different types of wood offer varying characteristics that can influence the ease of carving, the final design, and the overall look of the bowl.
Cherry wood is a popular choice due to its fine grain and rich color, making it ideal for intricate designs. Walnut wood provides a darker finish and is known for its durability, making it perfect for carving deep patterns.
Maple wood offers a light, creamy color that can highlight simple and elegant designs. Ash wood is sturdy and light in color, making it suitable for both modern and traditional bowl shapes.
Understanding the wood’s properties is crucial when deciding on the type of wood to use for carving your bowl.
Each wood type responds differently to carving techniques, affecting the ease of shaping and detailing the bowl.
By aligning the wood’s characteristics with your carving skills and design ideas, you can ensure a successful and satisfying carving experience.
Essential Tools for Wood Bowl Making
Selecting the right wood for carving a wooden bowl is crucial, and now you’ll explore the essential tools needed for this craft.
When it comes to bowl shaping techniques, you’ll need a bowl carving axe for rough shaping, a carving knife for intricate details, a hook knife for hollowing out the bowl’s interior, an adze for removing excess wood efficiently, and a gouge for smoothing and refining the curves.
To ensure your tools stay in optimal condition, remember these tool maintenance tips: keep your blades sharp by regularly honing them, store them in a dry place to prevent rust, and periodically oil the metal parts to prevent corrosion.
For creative design ideas, consider experimenting with different cuts and textures using your carving tools to create unique patterns on the bowl’s surface.
Incorporating intricate geometric designs or nature-inspired motifs can elevate the aesthetic appeal of your wooden bowl.
Remember, the right tools and proper maintenance are key to achieving your desired bowl design.
Beginner Steps for Carving a Bowl
To begin carving a wooden bowl as a beginner, start by cutting a larger block of balsa wood to the size you desire for your bowl.
Once you have your block ready, follow these steps:
- Wood Selection, Carving Techniques:
- Choose a suitable type of wood, such as cherry, walnut, maple, or ash, for your bowl.
- Begin carving the block into a round shape using a wood carving tool like a gouge or a carving knife.
- Focus on shaping the sides evenly to create a symmetrical bowl.
- Practice different carving techniques, such as using a bowl gouge or a skew chisel, for varied textures.
- Tool Usage, Safety Precautions:
- Utilize a wood carving tool like a hook knife or a gouge for shaping the wood.
- Always wear necessary safety gear, like safety glasses and a face shield, to protect yourself from wood chips and dust.
- Be cautious while working with sharp tools to prevent any accidents.
- Prioritize understanding the proper handling and maintenance of your carving tools.
- Finishing Touches, Maintenance Tips:
- Smooth out any rough areas on the bowl’s surface using a power sander or sandpaper.
- Apply a wood finish or sealant to enhance the bowl’s appearance and protect it from damage.
- Maintain your wooden bowl by regularly cleaning it with food-safe oils or waxes.
- Keep an eye out for any signs of wear or damage, and troubleshoot issues like splitting or rough edges promptly.
Finishing Techniques for Wooden Bowls
To achieve a smooth and polished finish on your wooden bowl, consider employing meticulous sanding techniques using progressively finer-grit sandpaper.
Start with 120-grit sandpaper to remove any rough patches or tool marks.
Continue sanding with 220-grit sandpaper to refine the surface further. For a more polished look, you can proceed with 320-grit sandpaper.
When it comes to staining techniques and natural finishes, experiment with different options to find the one that complements the wood’s natural beauty.
Some woodworkers prefer to leave the bowl unstained, allowing the wood’s color to shine through. Others opt for stains to enhance or alter the wood’s hue.
While finishing your wooden bowl, you may encounter carving challenges such as grain tear-out or uneven surfaces.
To troubleshoot these issues, try sanding in the direction of the grain and using sharp tools to minimize tear-out.
Additionally, inspect the bowl under good lighting to identify any imperfections that may need attention.
Safety Gear for Wood Carving
Ensure your safety during wood carving by equipping yourself with essential protective gear designed to shield you from potential hazards.
When engaging in wood carving, safety should always be a top priority. Here are some crucial safety gear items to consider:
- Full face shield: Protect your face from wood chips, flying debris, and accidental slips.
- Safety glasses: Safeguard your eyes from wood particles and dust.
- Protective face and eyes: Ensure all vulnerable areas are covered to prevent injuries.
- Safety gear importance: Understand the critical role safety equipment plays in preventing accidents.
Proper posture, tool maintenance, and wood selection also play significant roles in ensuring a safe wood carving experience.
Remember to maintain a good posture to prevent strain, keep your tools sharp and in good condition to avoid accidents, and choose the right type of wood that’s appropriate for your carving project.
By adhering to these safety measures and guidelines, you can enjoy wood carving while minimizing risks and potential injuries.
Understanding Lathe for Bowl Making
When working on wood bowl making, a key aspect to grasp is understanding the lathe and its components thoroughly.
To begin, familiarize yourself with the lathe features such as the swing height and headstock spindle size, which are crucial for accommodating the size of the bowl being turned.
Identify the various parts of the lathe, ensuring you can effectively match the chuck and faceplate to the lathe for a secure setup.
For mastering bowl turning basics, focus on tool handling techniques. Learn how to use tools like Easy Wood Tools or traditional woodturning gouges effectively.
Practice safe turning methods and always wear the necessary safety equipment, like a face shield and respirator.
Understanding the nuances of tool handling will greatly impact the outcome of your wooden bowl, ensuring smooth and precise turning.
By honing these skills, you’ll be well-equipped to create beautifully crafted wooden bowls with finesse and accuracy.
Advanced Turning Techniques for Bowls
Exploring advanced turning techniques for bowls unlocks a realm of intricate designs and precise craftsmanship that elevate your woodwork to the next level.
To master this art, consider the following:
- Unique Design: Experiment with asymmetrical shapes or textured surfaces to create one-of-a-kind pieces that stand out.
- Decorative Embellishments: Incorporate intricate patterns, inlays, or woodburning to add a touch of elegance to your bowls.
- Advanced Shaping Techniques: Delve into off-center turning, multi-axis turning, or hollowing techniques to push the boundaries of traditional bowl shapes.
- Precision Detailing: Focus on refining the rim thickness, wall curvature, and foot design to achieve a professional finish that showcases your skill.
Maintenance Tips for Wooden Bowls
To maintain the beauty and functionality of your wooden bowls, implementing proper care practices is essential.
For bowl preservation techniques, regularly apply food-safe oils or waxes to clean and preserve the wood. This helps prevent the wood from drying out and cracking.
If you encounter cracks, a simple way to repair them is by applying wood glue along the crack, clamping the pieces together until the glue sets, and then sanding the area smooth.
Enhancing the wood grain can be achieved by applying a wood conditioner before adding a finish. This helps bring out the natural beauty of the wood and creates a more polished look.
Remember to always hand wash wooden bowls with mild soap and water, avoiding soaking or prolonged exposure to water.
Proper care and maintenance will prolong the life of your wooden bowls, keeping them looking beautiful for years to come.

Leave a Reply