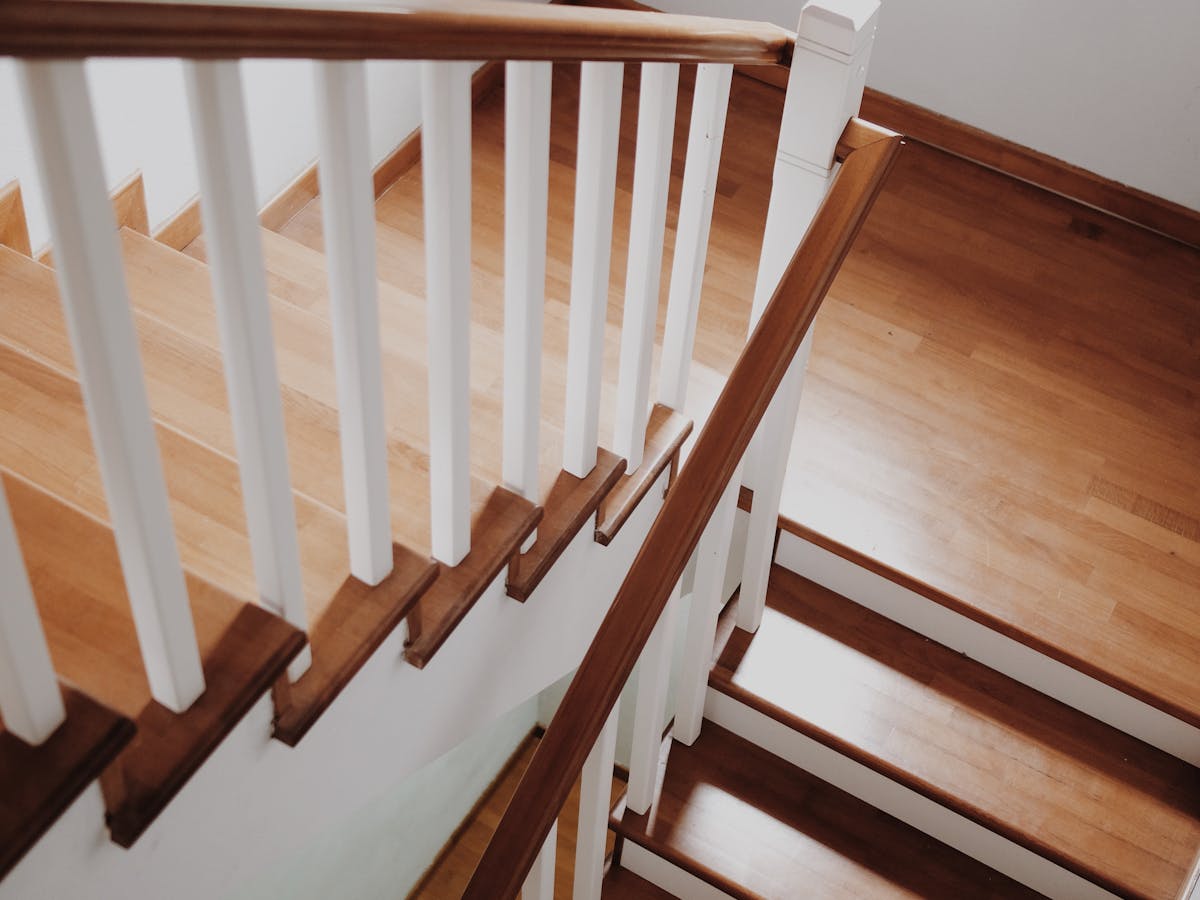
Transform your staircase from mundane to magnificent by ditching the worn carpet and embracing the timeless allure of hardwood.
Curious how to tackle this renovation project yourself? From removing the old carpet to the important installation process, each step plays a vital role in achieving a flawless finish.
Here are the essential tools and techniques to revamp your stairs with sophistication and style.
Benefits of Hardwood Stairs
When considering the benefits of hardwood stairs, you’ll find that they offer a significant increase in home value along with a durable and elegant upgrade option.
Hardwood stairs aren’t only visually appealing but also stand the test of time, making them a wise investment for your staircase renovation.
Their durability allows them to withstand heavy foot traffic without showing signs of wear and tear, ensuring that your stairs maintain their aesthetic appeal for years to come.
Additionally, opting for DIY installation of hardwood stairs can save you a substantial amount of money compared to hiring professionals, with potential savings ranging from $1,000 to $3,500. This cost-effective approach doesn’t compromise the quality or beauty of the end result, making hardwood stairs a practical and stylish choice for enhancing the overall look and feel of your home.
Tools and Materials Required
To successfully replace carpet with hardwood on stairs, gather essential tools like a circular saw, miter saw, hammer, nail puller, utility knife, and crowbar, along with materials such as hardwood treads, construction adhesive, caulk, painters tape, touch-up paint, and wood stain.
The circular saw is important for cutting the hardwood treads to the correct dimensions, while the miter saw helps achieve precise angled cuts for a seamless finish.
Construction adhesive plays an important role in securing the hardwood treads in place, ensuring a strong and durable installation.
A nail puller, utility knife, and crowbar are indispensable for removing the old carpet, staples, and nails, preparing the stairs for the hardwood installation.
Additionally, caulk, painters tape, touch-up paint, and wood stain are essential for adding those finishing touches, enhancing the overall aesthetics of the hardwood stairs.
Remember to have wood putty on hand to fill any gaps or holes for a polished final look.
Preparation Steps for Removal
Begin by carefully inspecting the stairs to assess the extent of carpet removal required for the hardwood installation.
Remove all nails, staples, tack strips, padding, and carpet diligently. To ease the process, consider taking out railings or pickets. Dispose of the removed materials properly to maintain a tidy workspace.
Next, drill out any wooden plugs to access the installation screws and prepare the stairs for the new hardwood treads. Use a circular saw to cut overhangs, ensuring a precise fit for the new treads.
Once the overhangs are trimmed, secure the new stair treads in place with screws to enhance stability and durability.
Installation of Hardwood Steps
For enhanced durability and stability when installing hardwood steps, apply construction adhesive to securely fasten the stair treads in place. Cut the hardwood treads and risers to precise measurements using a saw for a professional finish.
Consider staining the hardwood treads and painting the risers to boost the overall aesthetic of the staircase.
To achieve a clean and finished look on the edges, install edge moulding on the hardwood treads.
Using a tread template during the installation process guarantees accuracy when cutting and fitting the hardwood stair treads. By carefully following these steps and techniques, you can successfully install hardwood steps on your stairs.
Remember to pay attention to detail, measure accurately, and use proper tools for a seamless installation.
With the right approach, your staircase will be transformed into a beautiful focal point of your home.
Finishing Touches and Maintenance
After installing hardwood steps on your stairs, the next step involves adding the finishing touches and implementing a maintenance routine to secure longevity and preserve the aesthetic appeal of your staircase.
Begin by carefully applying two coats of clear coat for protection and durability to the hardwood stair treads.
Consider rounding over a piece of wood for a custom look on the stair edges, enhancing the overall appearance. Use adhesive and nails to secure the hardwood underneath, ensuring a sturdy foundation.
When applying stain, use a foam brush and a lint-free cloth to wipe off excess for a smooth finish. Allow each coat of stain and clear coat to dry properly between applications for a professional look.
For a final touch, remove any staples that were used during the installation process for a seamless finish.
To maintain the beauty of your hardwood stairs, incorporate regular maintenance practices such as cleaning with a wood-friendly solution to prolong their life and keep them looking pristine.
Conclusion
To sum up, replacing carpet with hardwood on stairs not only enhances the overall look of your home but also adds value that will last for years to come.
By following the steps outlined in this article and adding personalized touches, you can create a stunning staircase that reflects your style and taste.
Remember to prioritize safety, wear the necessary gear, and enjoy the beauty of your newly upgraded hardwood stairs.

Leave a Reply