Are water woes wrecking your beloved wood veneer? Well, you’re in the right place to learn how to tackle this issue.
It’s not uncommon for water to leave unsightly stains or cause discoloration on wood veneer, but don’t worry; such damage is usually not beyond repair.
You’re about to learn how to:
- Identify the signs of water damage
- Prepare your veneer for restoration
- Remove those stubborn stains
- Apply a protective layer to prevent future damage
By the end, you’ll have the knowledge of how to repair water-damaged wood veneers and restore them to their original beauty.
So, are you ready to roll up your sleeves and breathe new life into your wood veneer?
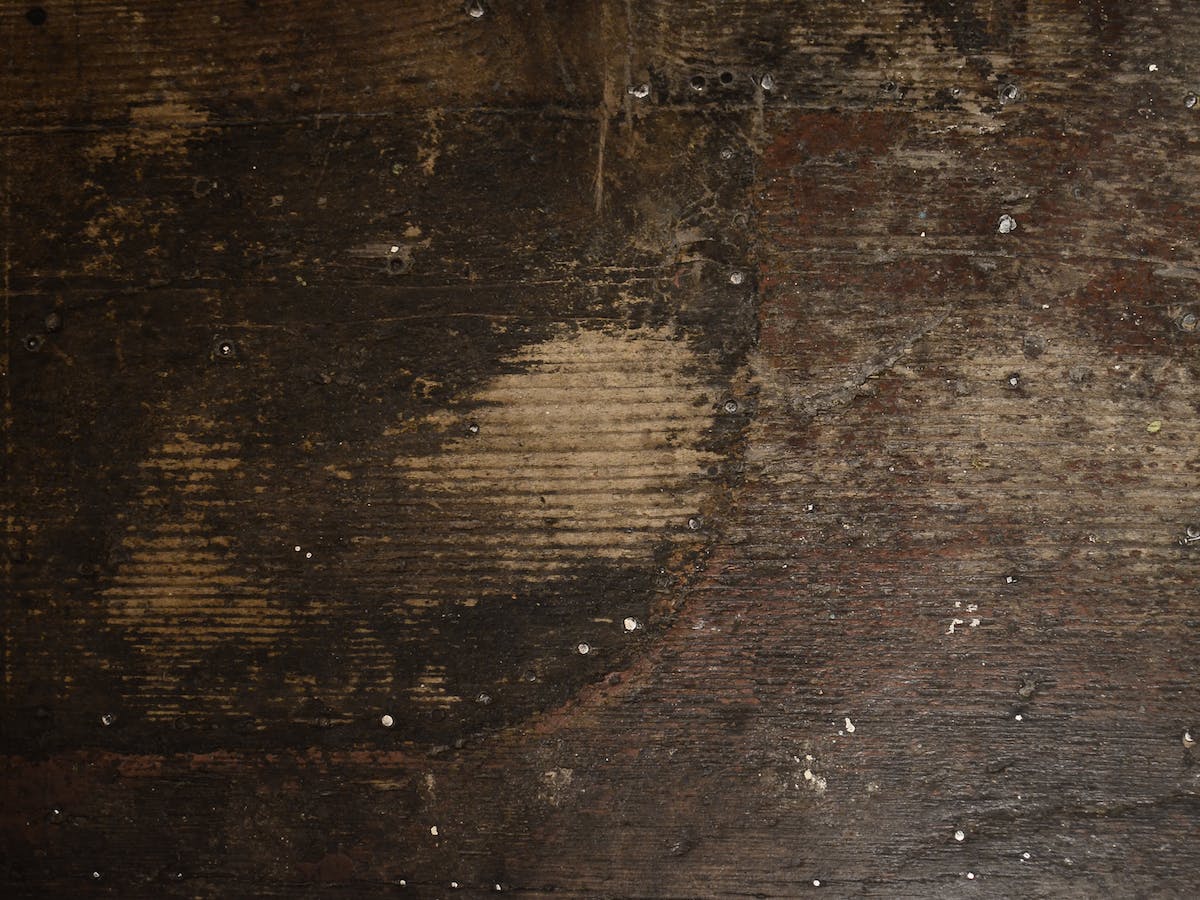
Signs of Water Damage to Wood Veneer
If you suspect water damage to your wood veneer, there are several signs you can look for to confirm your suspicions.
Changes in shape or texture, discoloration, and stains are common indicators. You might also observe the veneer softening, or even warping and lifting from the substrate.
Understanding the common causes of wood veneer water damage is crucial to preventing further harm.
Water leaks, high humidity, and improper cleaning can all contribute to this issue. To prevent water damage, ensure your veneer isn’t exposed to these damaging conditions. Waterproof sealants can also offer protection.
If your veneer is already damaged, don’t panic. There are effective tips for drying wood veneer after water damage.
Begin by gently wiping off excess water. Avoid rubbing, as it can cause the veneer to peel.
Then, allow it to air-dry naturally in a well-ventilated space. Using heat can cause the veneer to warp, so it’s best to be patient and let it dry slowly.
Cleaning and Preparing the Veneer
Before you can repair the water-damaged veneer, it’s crucial to give it a thorough cleaning to remove any dirt and particles.
Start with a gentle brushing technique, using a soft-bristle brush to sweep away loose debris. Avoid vigorous scrubbing, as it may further damage the delicate veneer surface.
After brushing, prepare a cleaning solution. While many suggest bleach, consider bleach alternatives to preserve the veneer’s color and texture.
A mix of warm water, mild soap, and white vinegar works well. Apply it using a sponge or a cloth, ensuring you clean the entire surface.
Rinse the veneer with warm water, taking care not to oversaturate it. It’s important to remove all soap residues, as they can interfere with subsequent repair steps.
Drying methods are vital in preventing further water damage. Avoid direct sunlight or heat sources, as they can cause warping.
Instead, let it air dry in a well-ventilated area. If necessary, use a fan to circulate the air and speed up the drying process.
Stain Removal Techniques
Once the veneer is clean and dry, you’ll often find that water damage has left behind unsightly stains that need to be addressed.
Using bleach for stain removal is an effective method. Simply mix a solution of one part bleach with four parts water and apply it to the stain using a cloth. Allow it to sit for a few minutes before rinsing with water and drying.
If the bleach solution doesn’t work, consider alternative cleaning solutions. Wood furniture cleaner combined with orange oil can often remove stubborn stains.
If you don’t have orange oil, salad dressing or mayonnaise can be used as substitutes. Simply apply the cleaner, let it sit, and then wipe it off.
In cases of stubborn stains that resist the above methods, sanding techniques can be employed. For this, you’ll need 220-grit sandpaper. Remember to sand in the direction of the grain to avoid scratching your veneer.
Be sure to wear a mask while sanding to avoid inhaling dust. Once the stain is removed, wipe the area clean and let it dry before proceeding to the next step in your repair.
Applying Varnish for Protection
After tackling stains, you’ll want to seal and protect your veneer by applying a waterproof varnish.
This has several benefits. It forms a barrier against future water damage, enhancing the longevity of your veneer. It also improves the aesthetic appeal by giving it a glossy finish.
Choosing the right varnish is crucial. Opt for a varnish specifically designed for wood veneer to ensure optimal results. Read the product description and reviews, and don’t hesitate to ask the seller if it’s appropriate for your veneer type.
Common mistakes to avoid when applying varnish include not prepping the surface properly, using the wrong brush, or rushing the drying process.
Ensure the veneer is clean and dry prior to application. Use a high-quality brush to apply the varnish smoothly.
It’s tempting to rush the drying, but patience pays off. Let each coat dry fully before applying the next; this prevents ugly streaks and ensures a smooth, even finish.
You’ve worked hard to restore your water-damaged veneer. Don’t cut corners with the varnish, as it’s your final defense against future water damage.
Invest in good-quality varnish and apply it correctly for long-lasting protection.
Removing White Water Spots and Blushing
Even with a protective varnish, you may still find white water spots or blushing on your wood veneer, but don’t worry; these can be dealt with effectively.
To remove white water spots, consider using denatured alcohol. Just dampen a soft cloth with it and gently rub the affected area. The alcohol helps to dissolve the water spot without affecting the existing finish.
However, before you start, it’s crucial to test the existing finish with denatured alcohol.
Apply a small amount in an inconspicuous spot. If the finish turns sticky, it’s probably shellac, and you’ll need to be careful not to remove the finish along with the water spot.
On the other hand, blushing or white haze can be removed by applying linseed oil.
Simply apply a small amount of oil to a soft cloth and buff the surface. The oil penetrates the finish, replacing the trapped moisture and eliminating the blushing.

Leave a Reply